Design
Document designer for invoices and documents
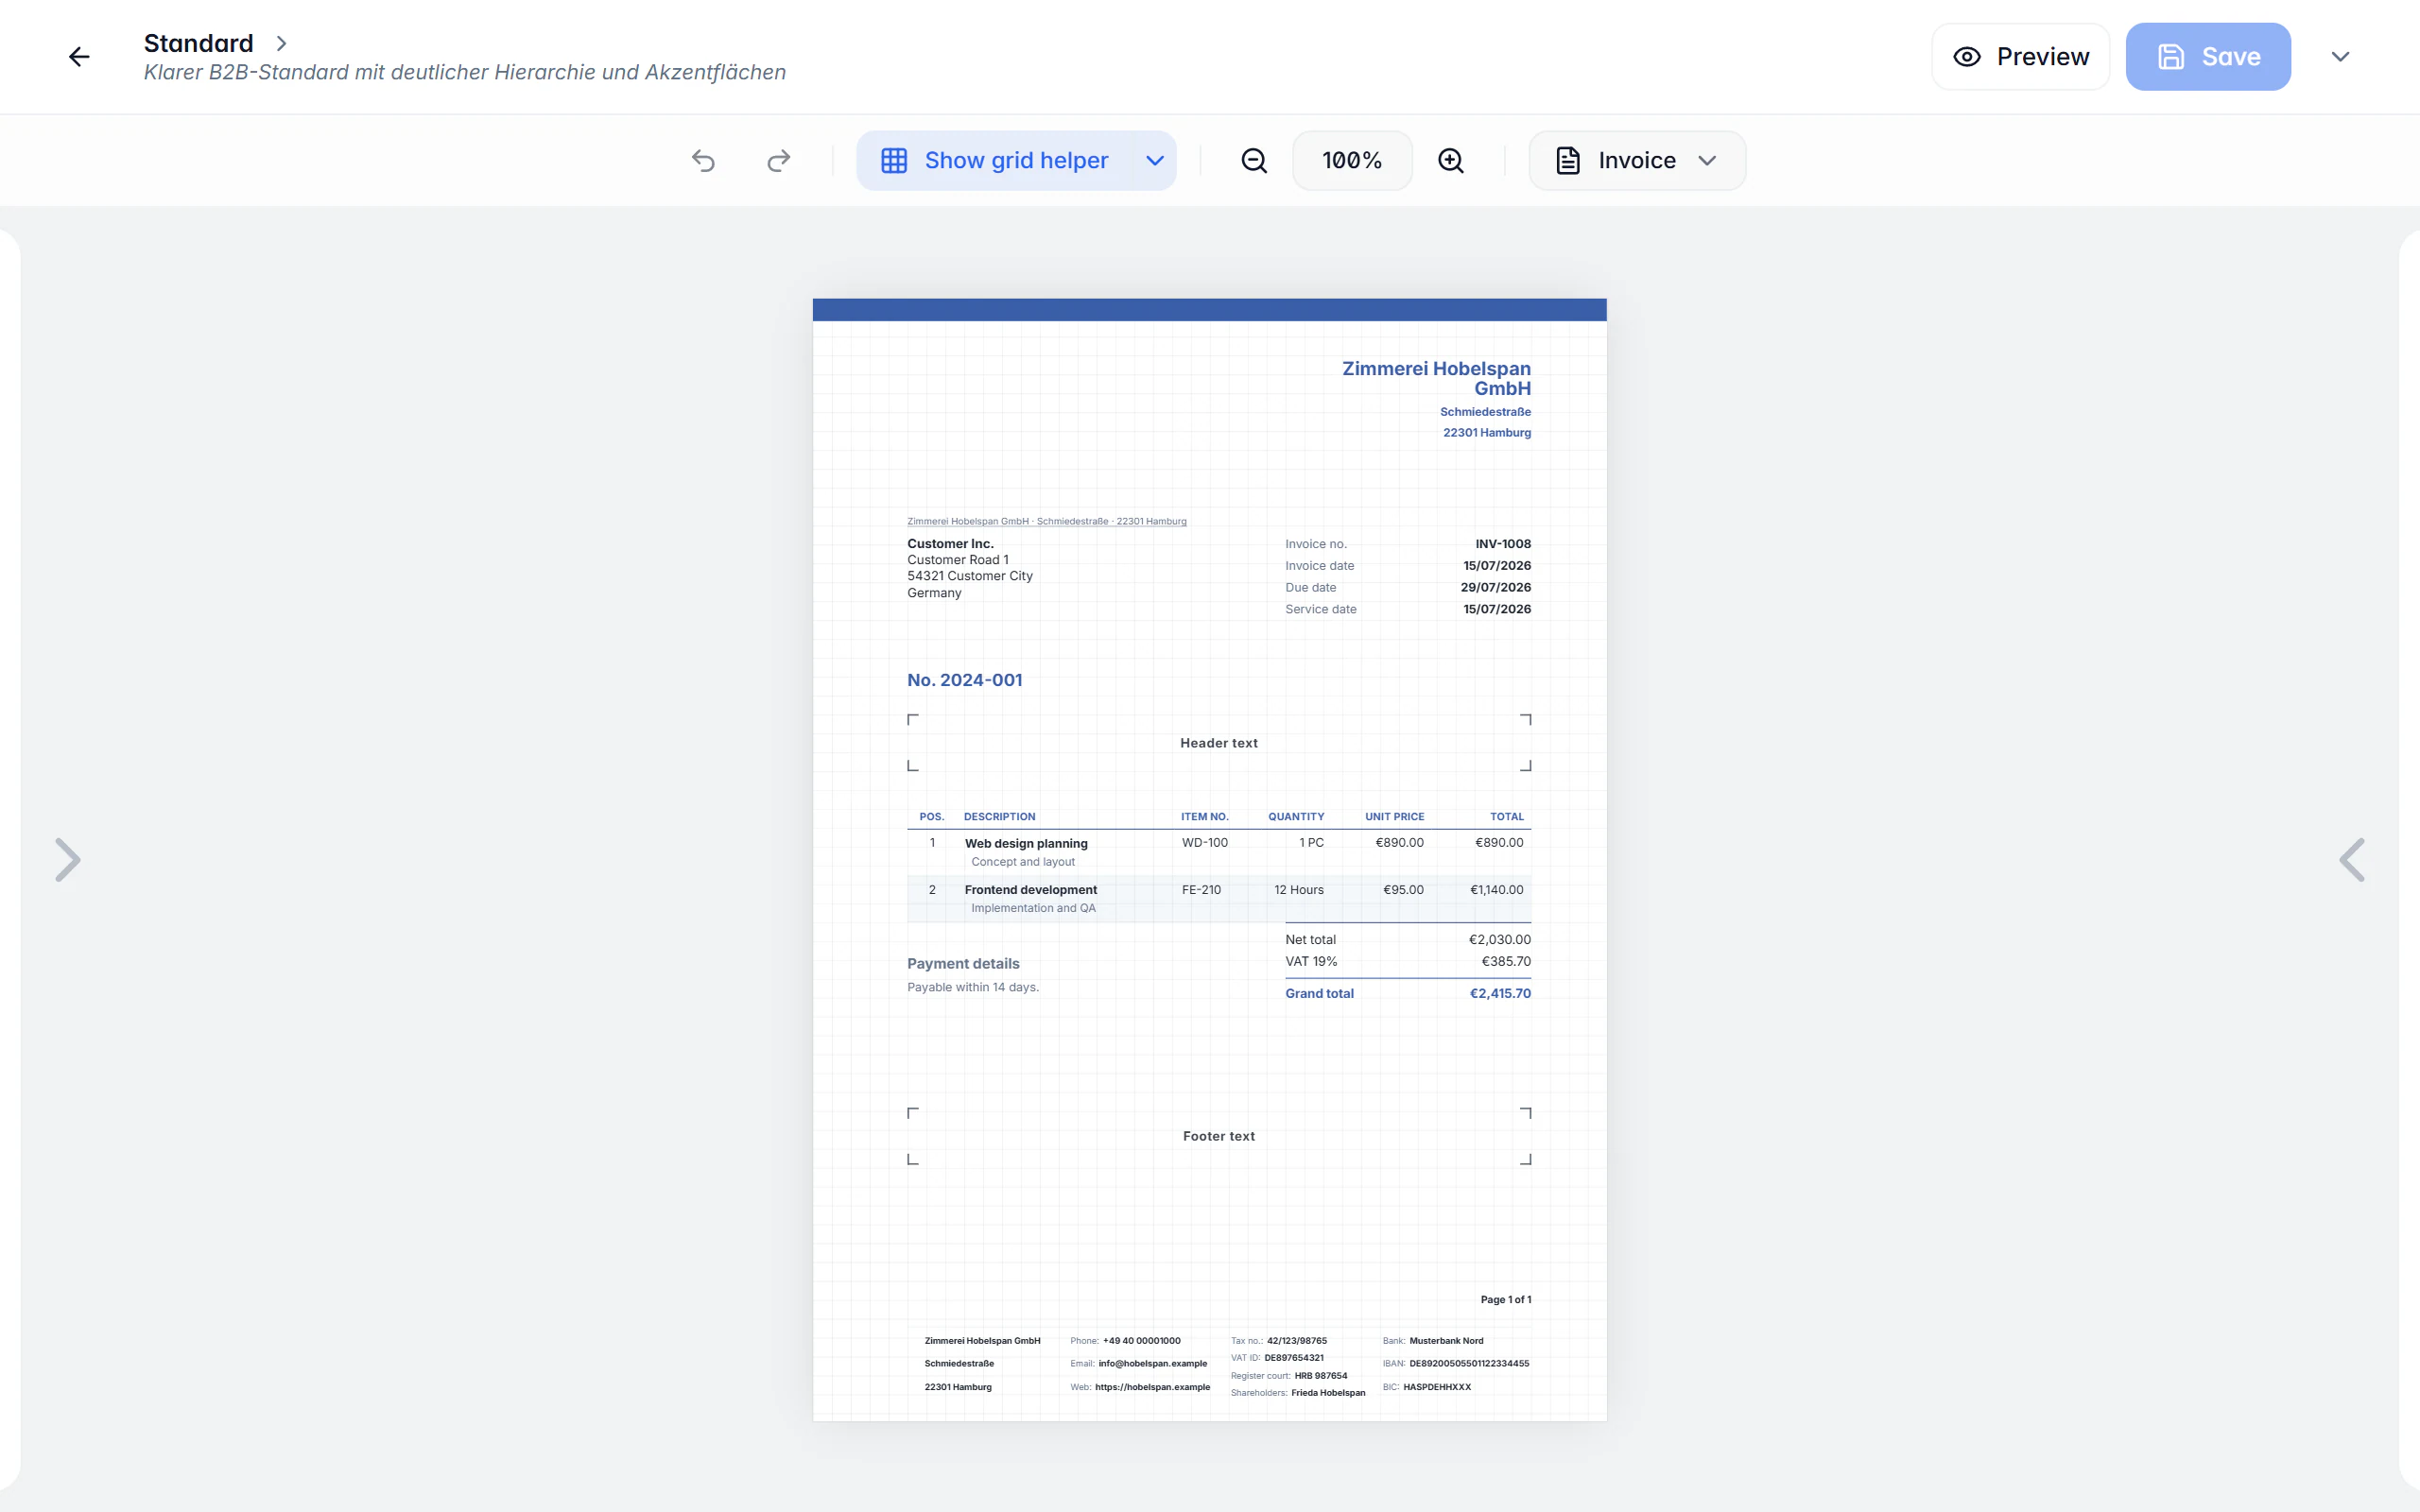
You decide which elements a document contains, where they sit and how they look. The designer works on an A4 canvas with a grid, measurements, fold and punch marks and DIN 5008 overlays — and the preview shows how the result behaves for every document type.
At a glance
- Canvas
- A4 with grid and DIN 5008 overlays
- Elements
- Text, tables, images, QR codes, shapes
- Applies to
- Every supported document type
- Plan
- System designs free, own designs Premium
What the designer decides
A design template decides how the generated PDF looks — not what it contains. It is used for invoices and the other supported document types, so quote, delivery note and invoice can look like one family without you designing the same thing three times.
Design happens element by element. Depending on the element you edit position, size, visibility, lock and page placement, font, alignment, line spacing and opacity, palette or individual colours, background and border. On top come the table layout with its columns, the totals, the payment information and the page footer, plus images, QR codes, dividers, shapes and signatures.
So the result works on paper and not only on screen, a grid, measurements, fold and punch marks and DIN 5008 overlays help with alignment. Warnings point out missing content or critical areas before a template goes into use.
Designing a template
Create the template
Duplicate a system design or start fresh; templates can be renamed, deleted and set as the default.
Place the elements
Add them from the palette and select, move and scale them right on the A4 canvas; grid and overlays help with alignment.
Refine the properties
Set font, colours, borders, opacity, table columns, totals, payment information and the page footer per element.
Check the preview
The document-type preview shows the document without editing frames — multi-page, with a long line item table and optional elements.
Save and assign
Save the template and set it as the default for a document type or assign it to a specific recipient.
What the designer does
Free placement
Position, size, visibility, lock and page placement per element — the canvas is a real A4 page, not a fixed mask.
Typography under control
Font, alignment, line spacing and opacity can be set per element rather than by one global font size.
Palette or individual colours
Colours come from the design palette or are set individually, alongside backgrounds and borders.
Configurable line item table
Table layout, columns, totals, payment information and the page footer belong to the template — including what repeats across pages.
Images, QR codes and signatures
Logo, dividers, shapes, QR codes and signature fields can be added and placed freely.
Guides under DIN 5008
Grid, measurements, fold and punch marks and DIN 5008 overlays make sure the address block actually lands in the envelope window.
Warnings before saving
Missing content and critical areas are flagged before a template ends up on real documents.
Preview per document type
Invoice, quote, order confirmation, delivery note, credit note/cancellation and reminder can each be previewed.
Manage templates
Search, open, duplicate, rename, delete and set as default — system designs stay available as a starting point.
On desktop and in the app
The designer exists on both platforms; three columns on the desktop, a lighter way in on the phone.
In the desktop app
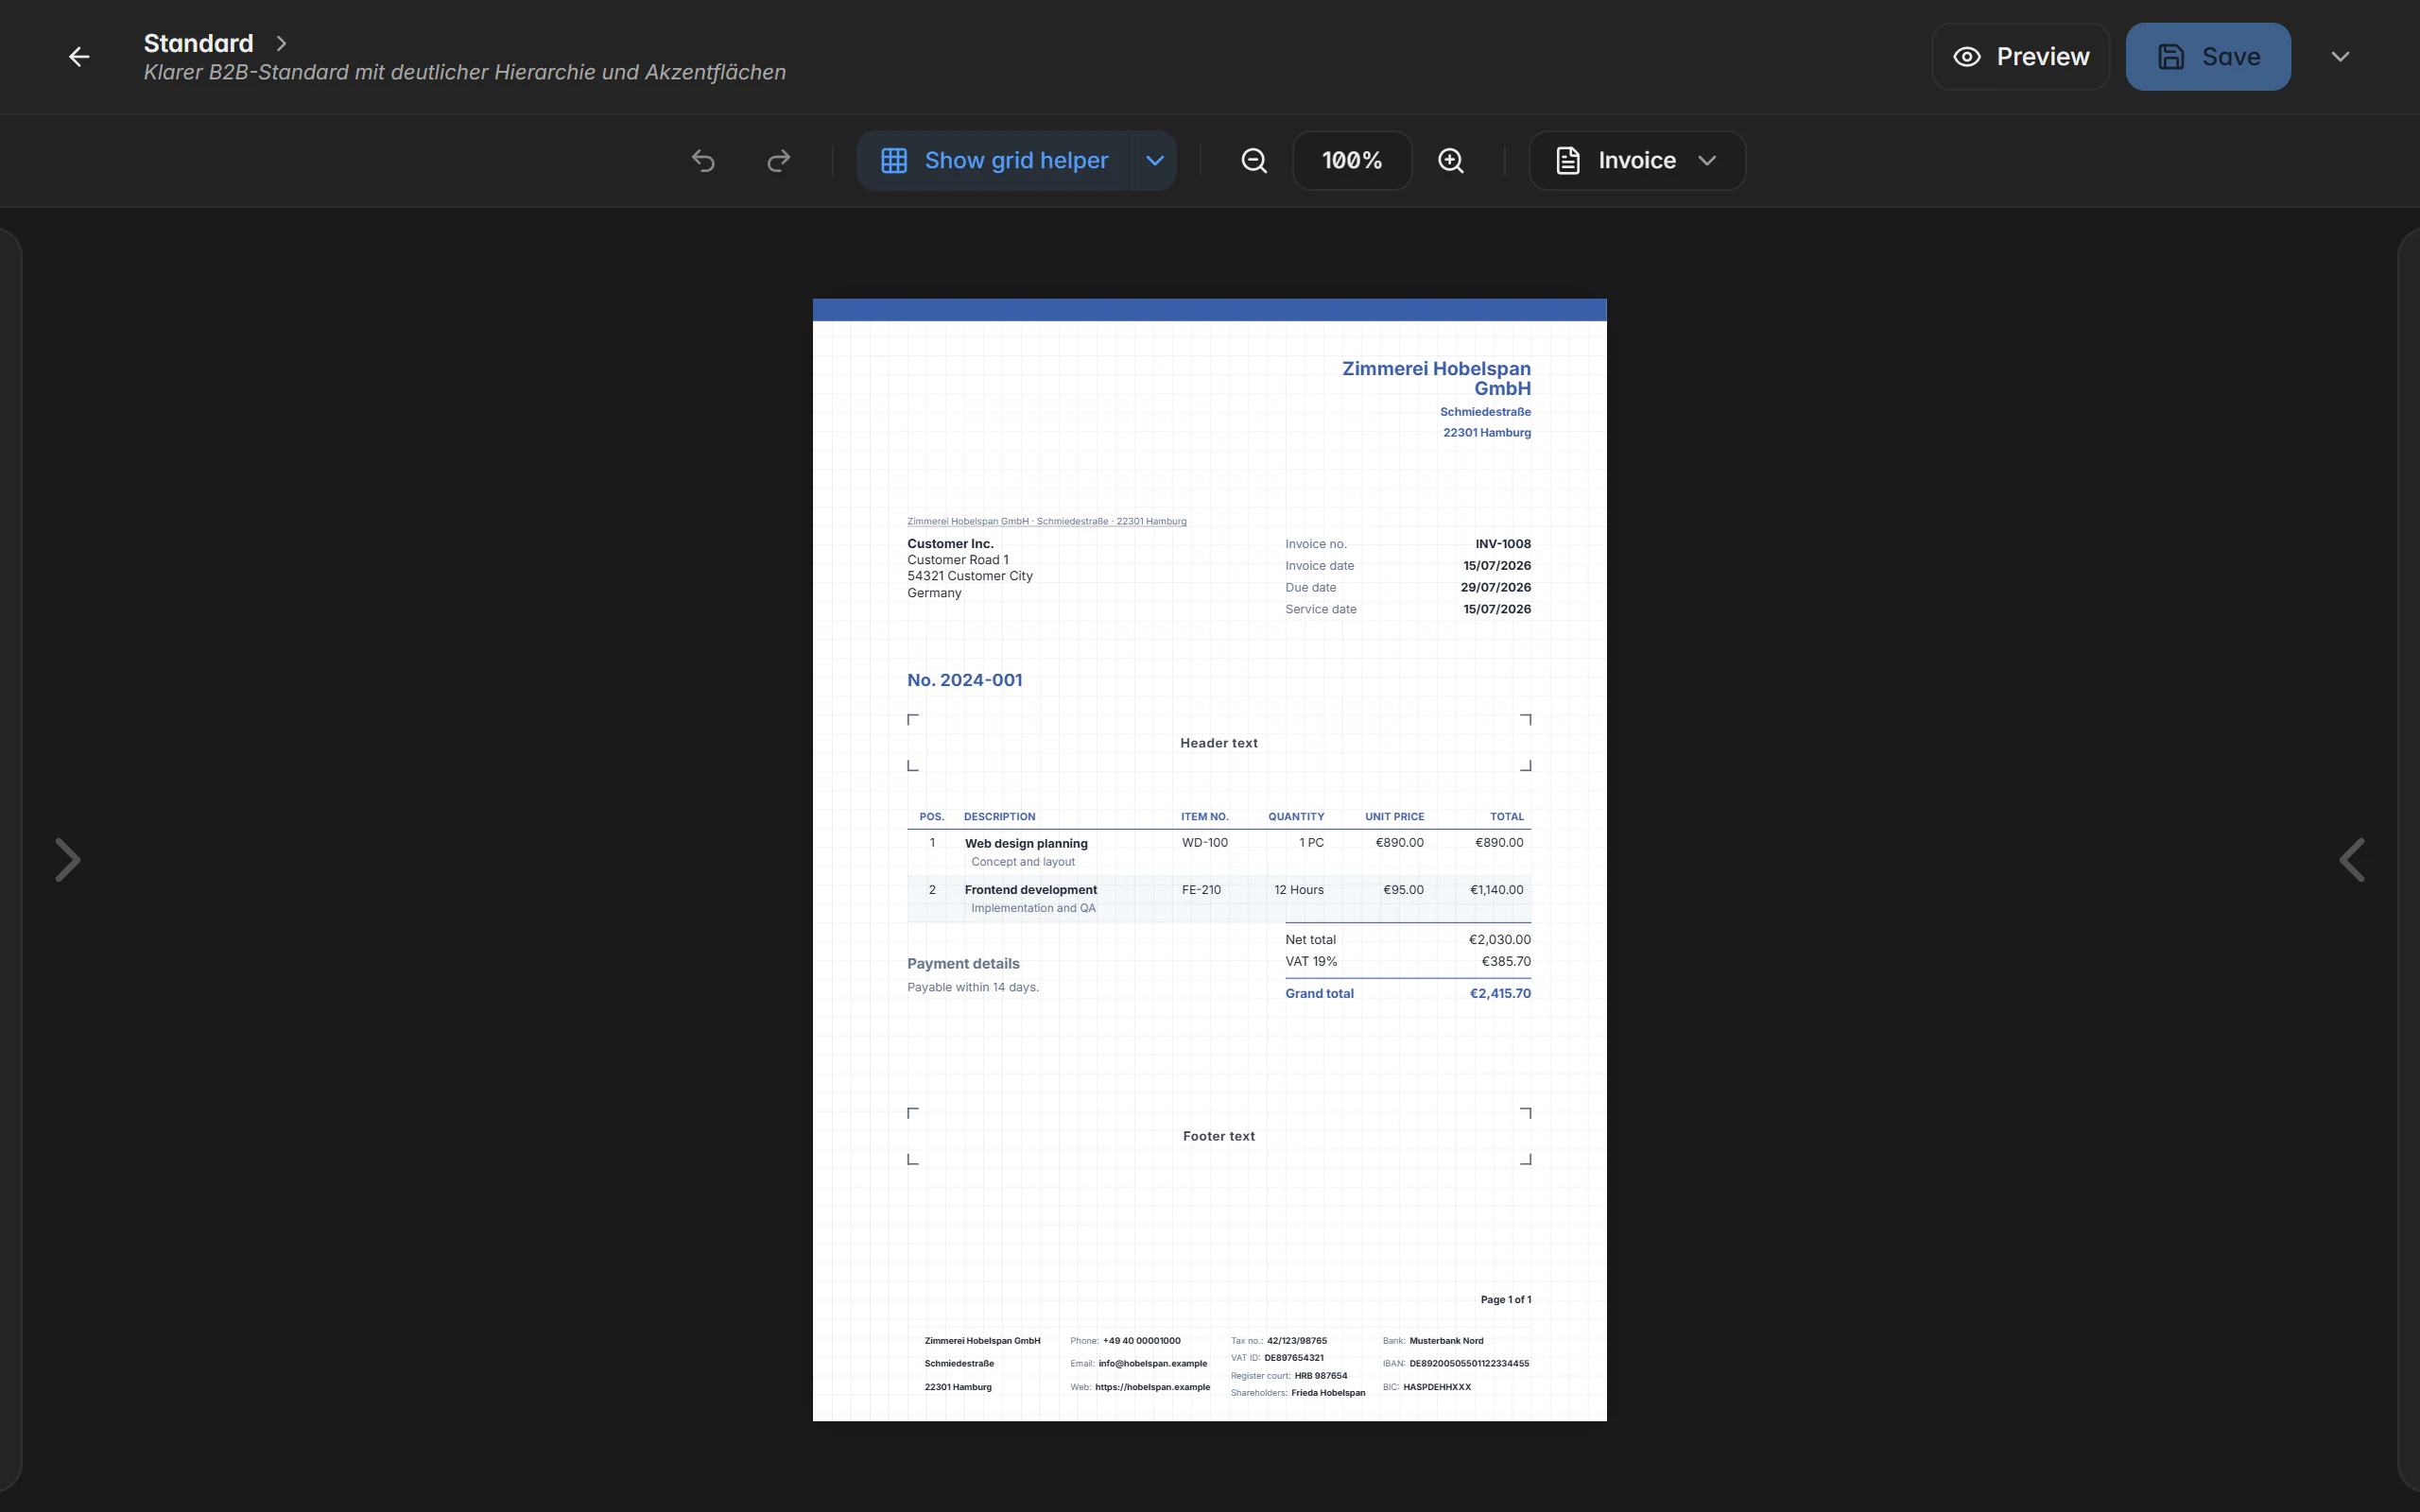
The advanced designer is split into the element list on the left, the A4 canvas in the middle and the properties on the right. Elements are added from the palette and selected, moved or scaled directly on the canvas; Preview shows the document without editing frames, Save applies the changes.
In the mobile app
In the app a template starts in the mobile editor for name, font, colours, logo, document options and the PDF preview. The advanced editor opens the canvas view; element list, properties and further settings sit on their own pages. Dragging and scaling happen by touch, and on a tablet the content keeps a centred working width.
Free or Premium
On the free plan
The bundled system designs are usable on the free plan too — so every invoice looks tidy from the start.
With Billance Premium
Your own designs, duplicating, deleting and using non-system templates are Premium features.
Custom designs you already created stay saved after a downgrade.
Frequently asked questions about the designer
No. The design template decides how the PDF looks. The structured XML data of an e-invoice follows the standard and is independent of the layout — which is why a ZUGFeRD invoice in your design is still a valid e-invoice.
Read on
Step by step in the help centre
The help articles walk through the same workflow as an instruction – every field, every button, every special case.
Ready for e‑invoices?
Start with Billance and create your first e-invoices in just a few minutes.